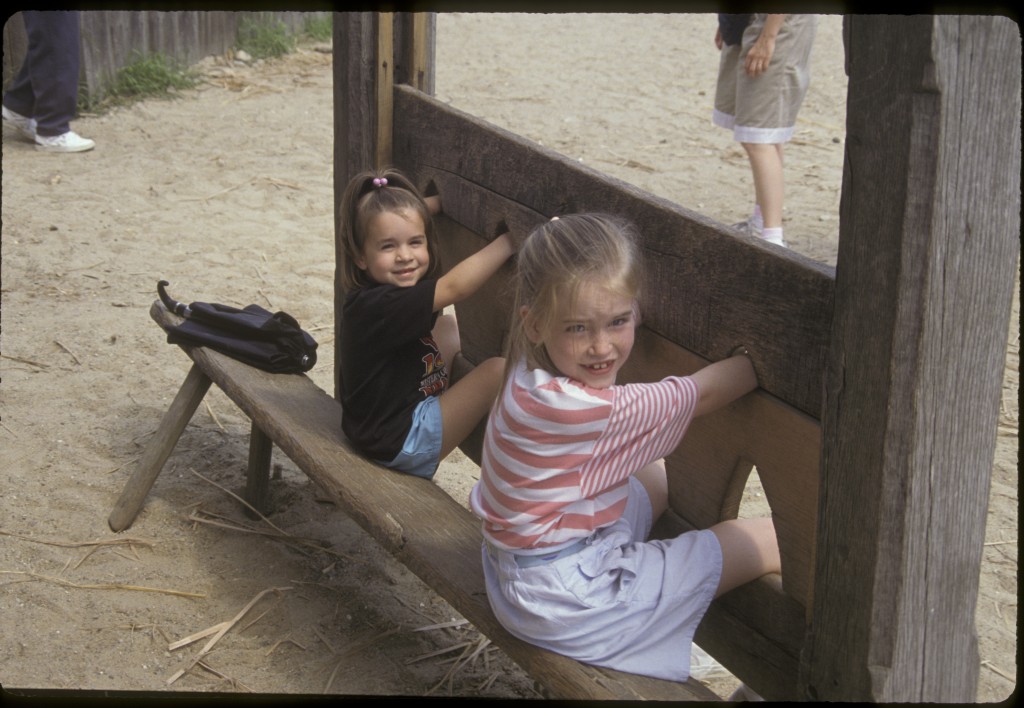
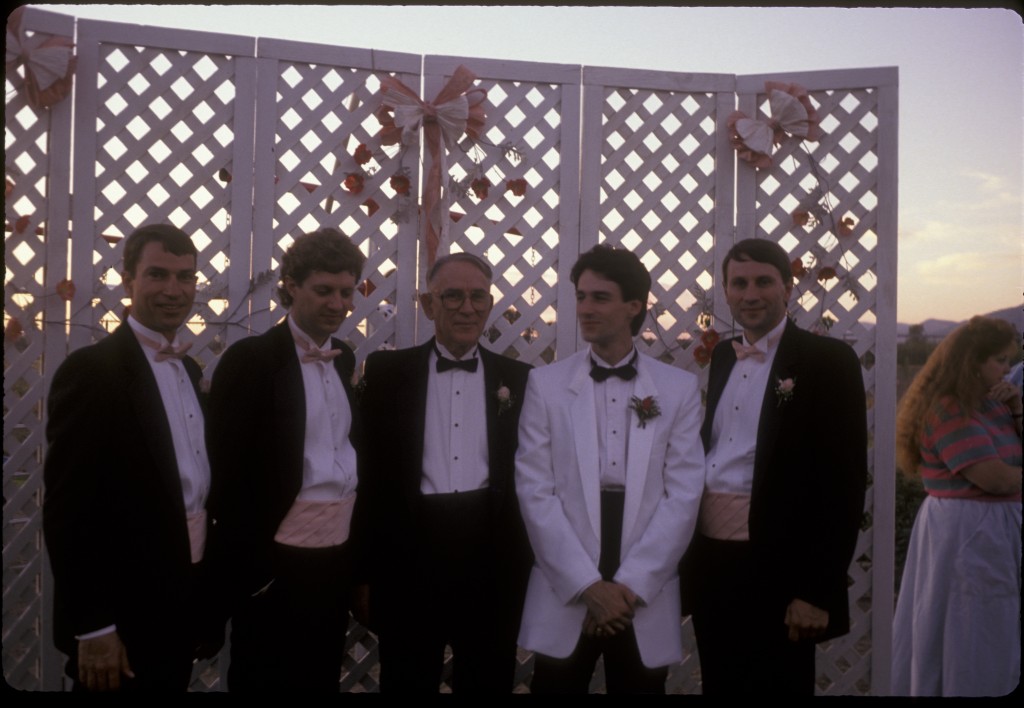
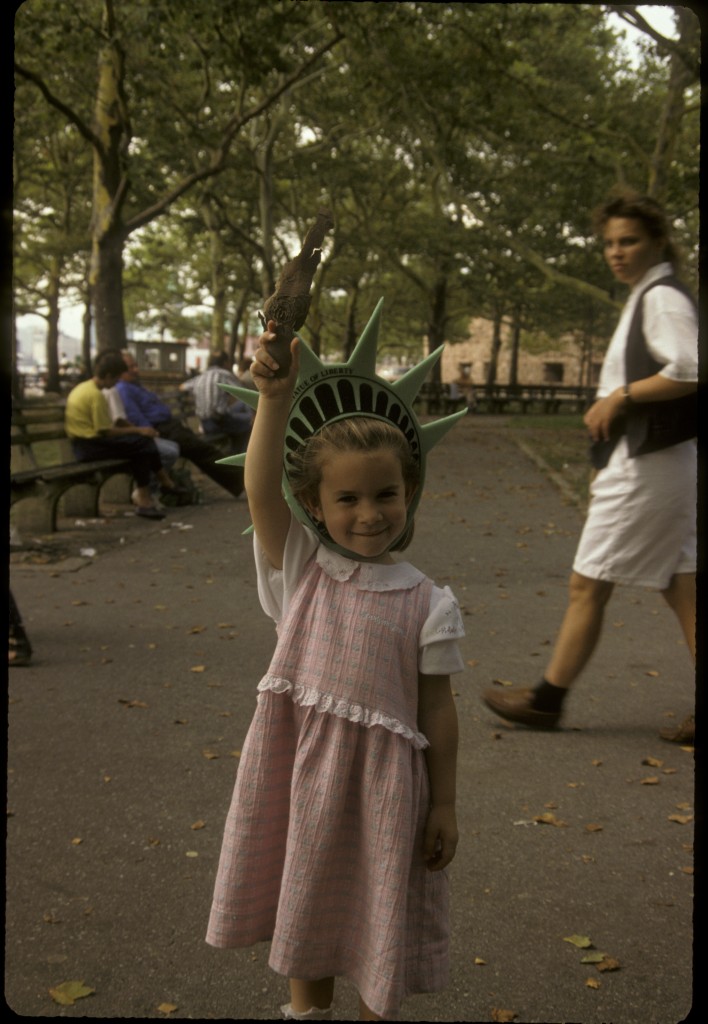
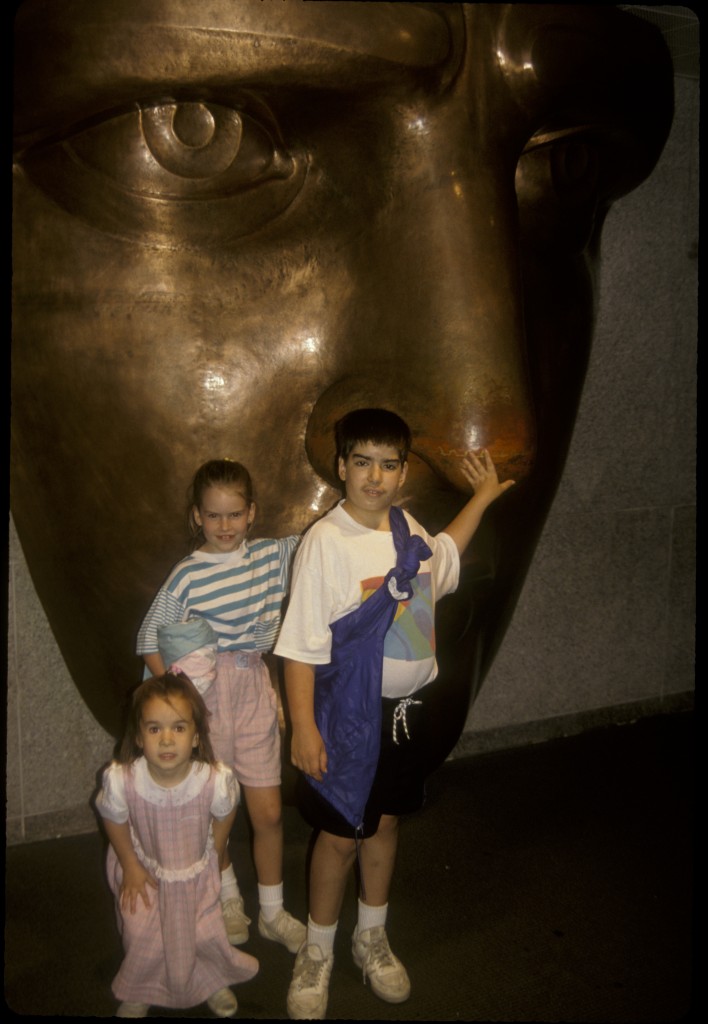
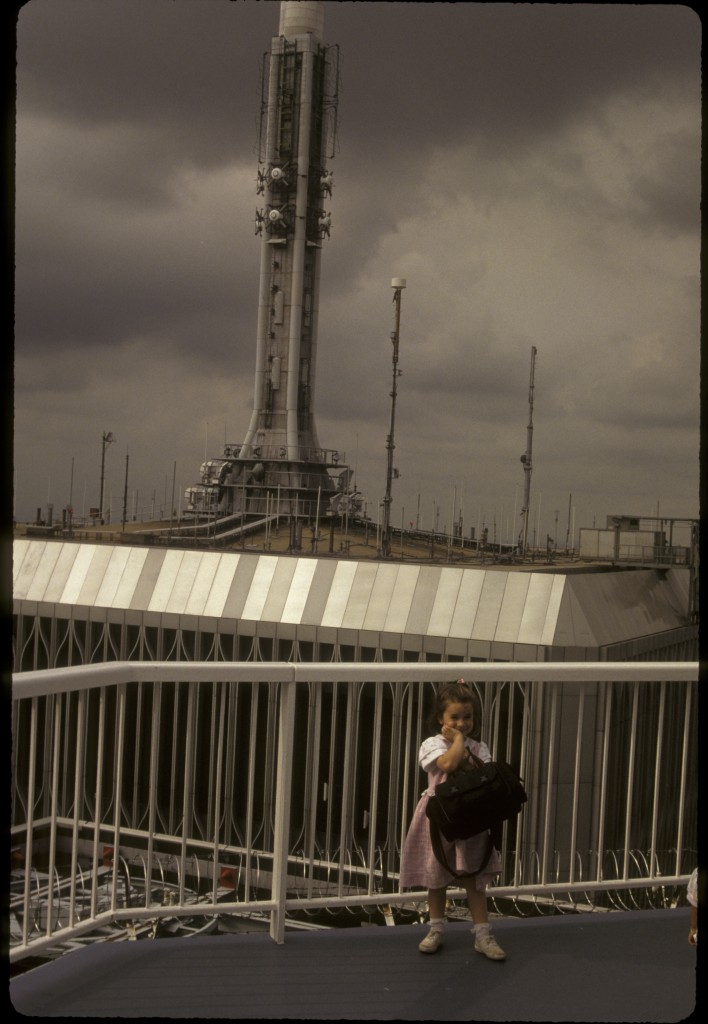
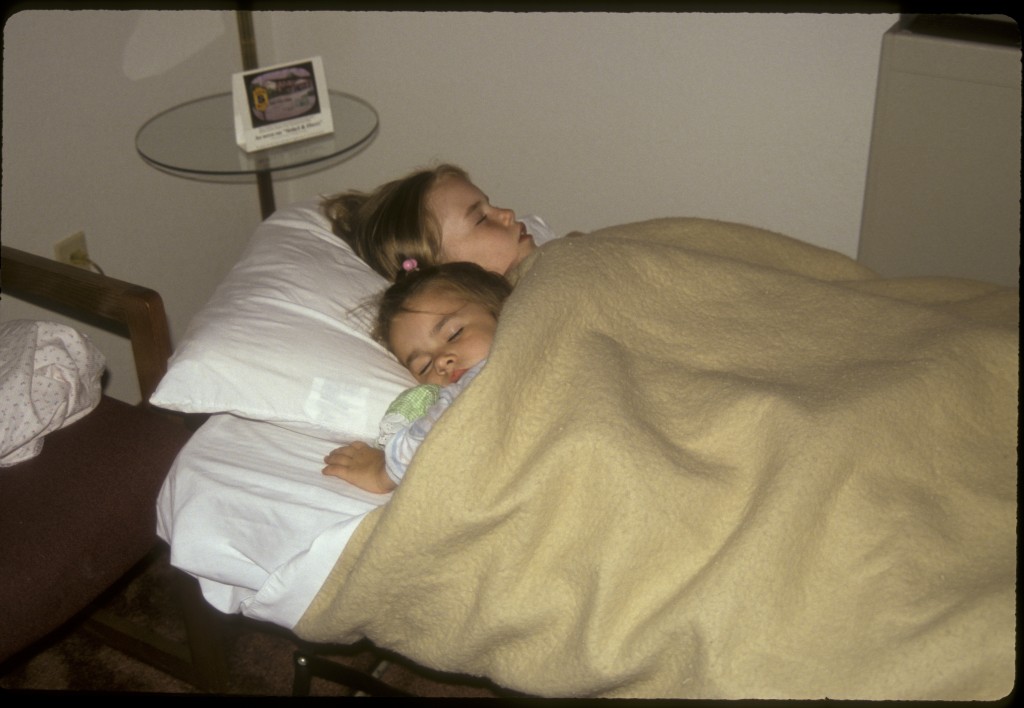
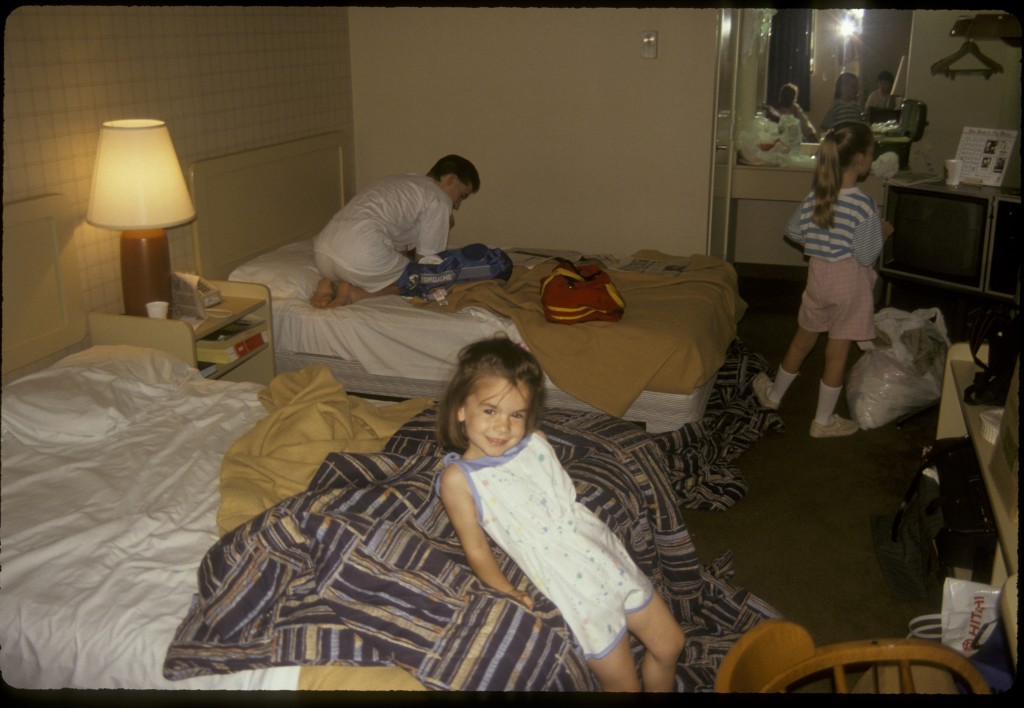
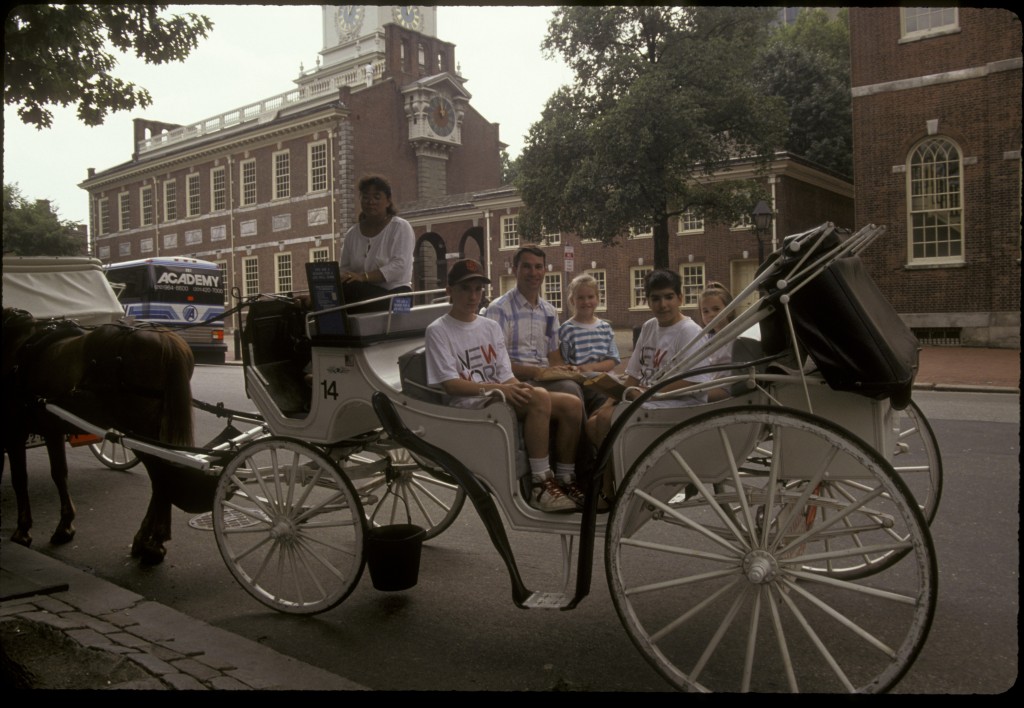
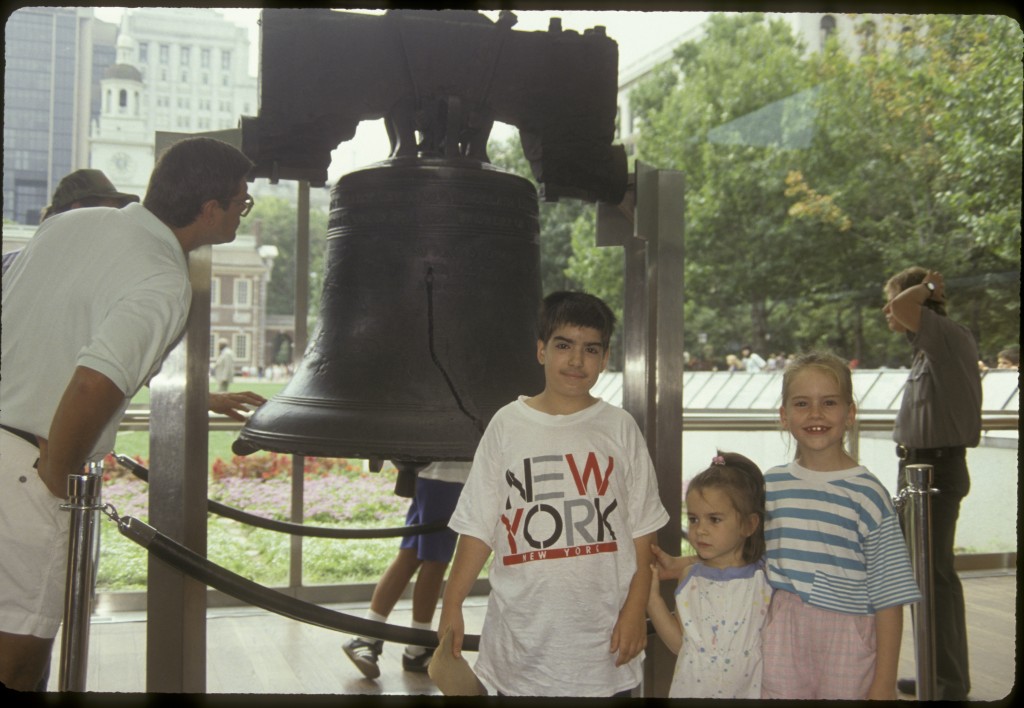
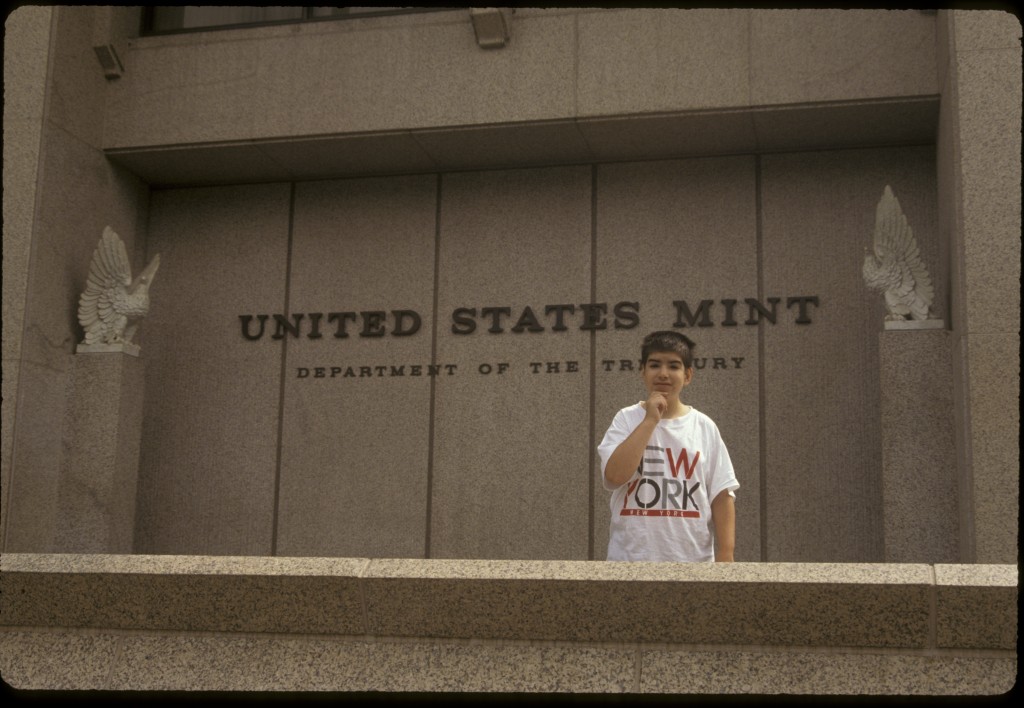
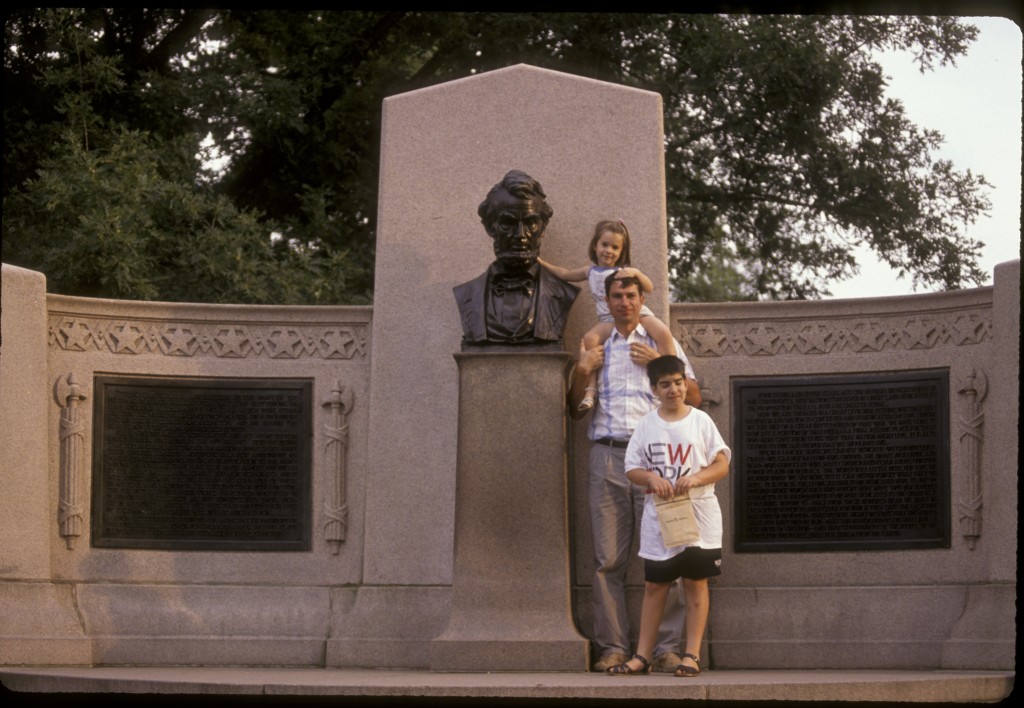
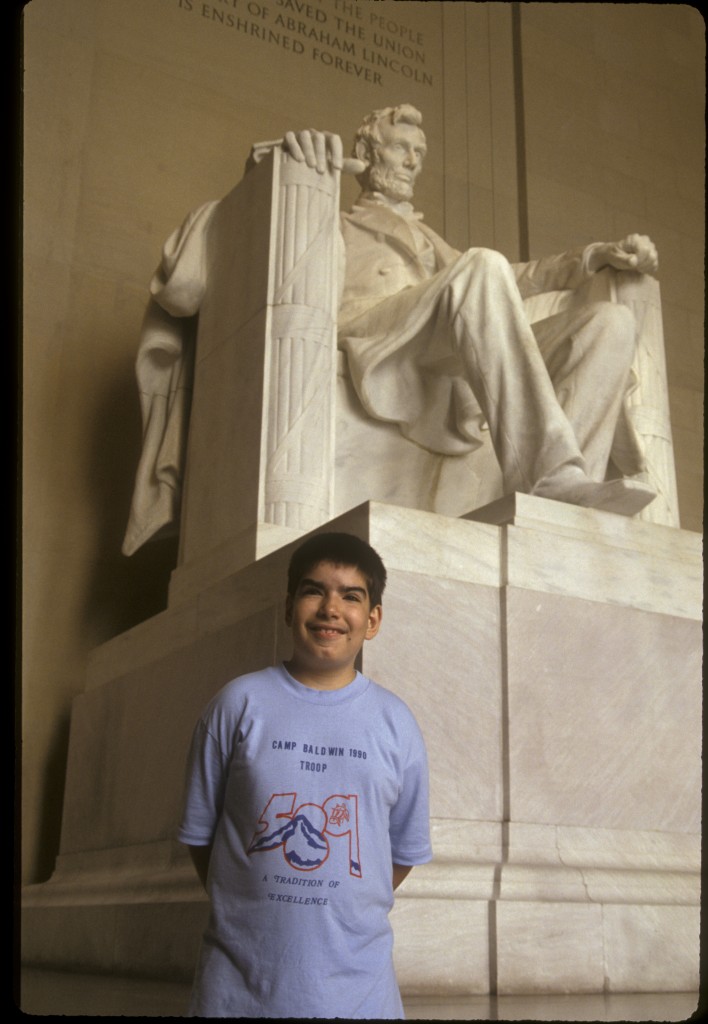
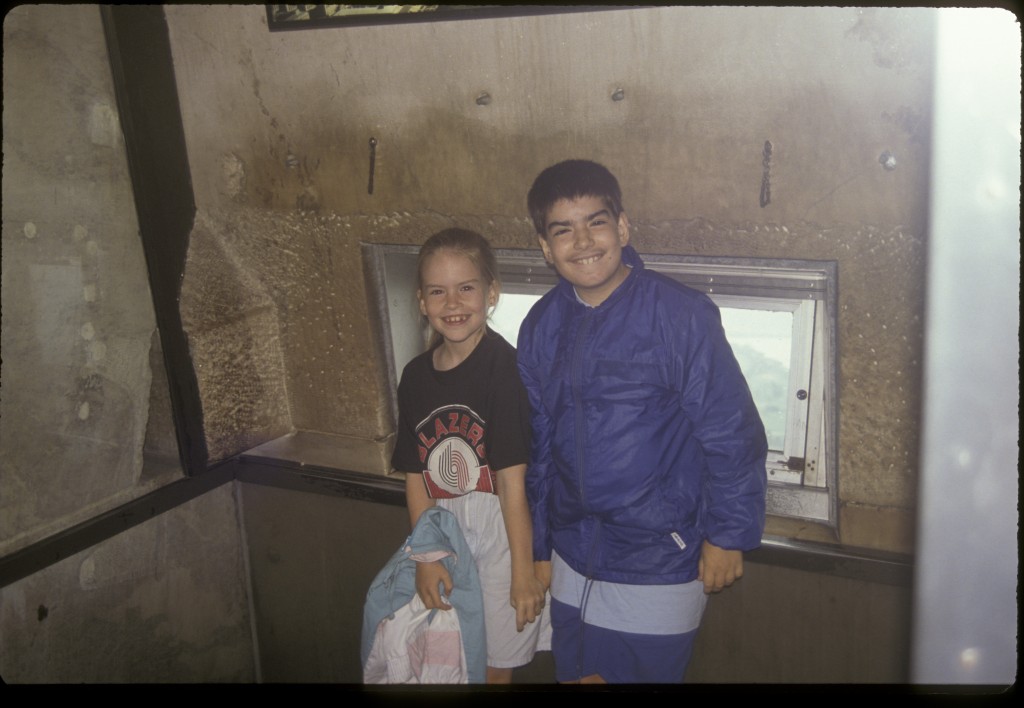
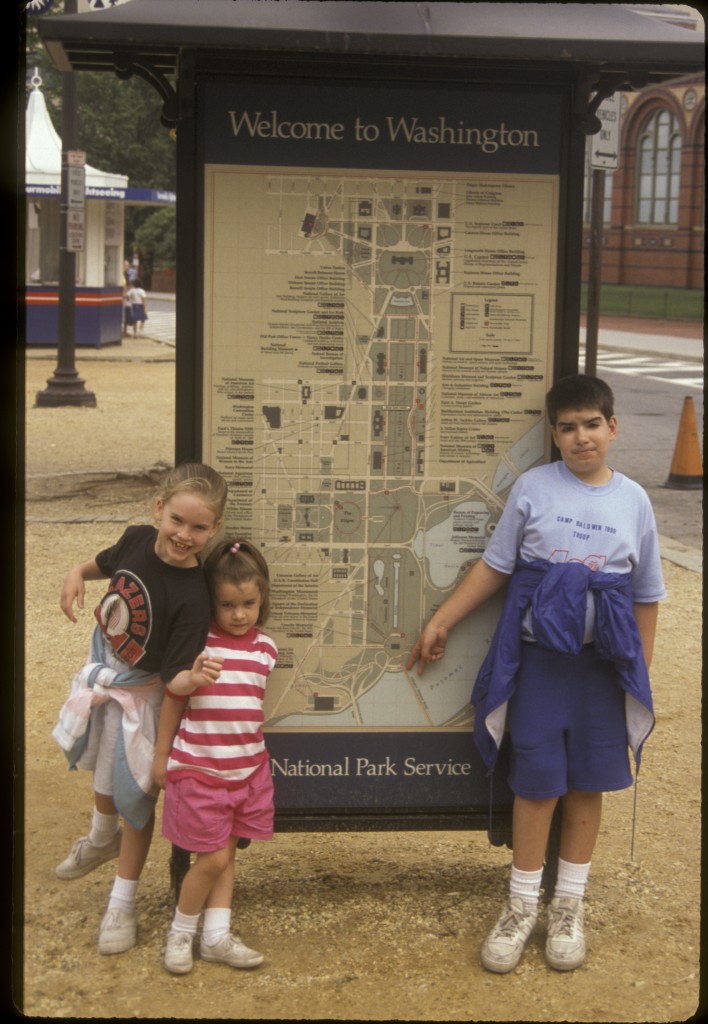
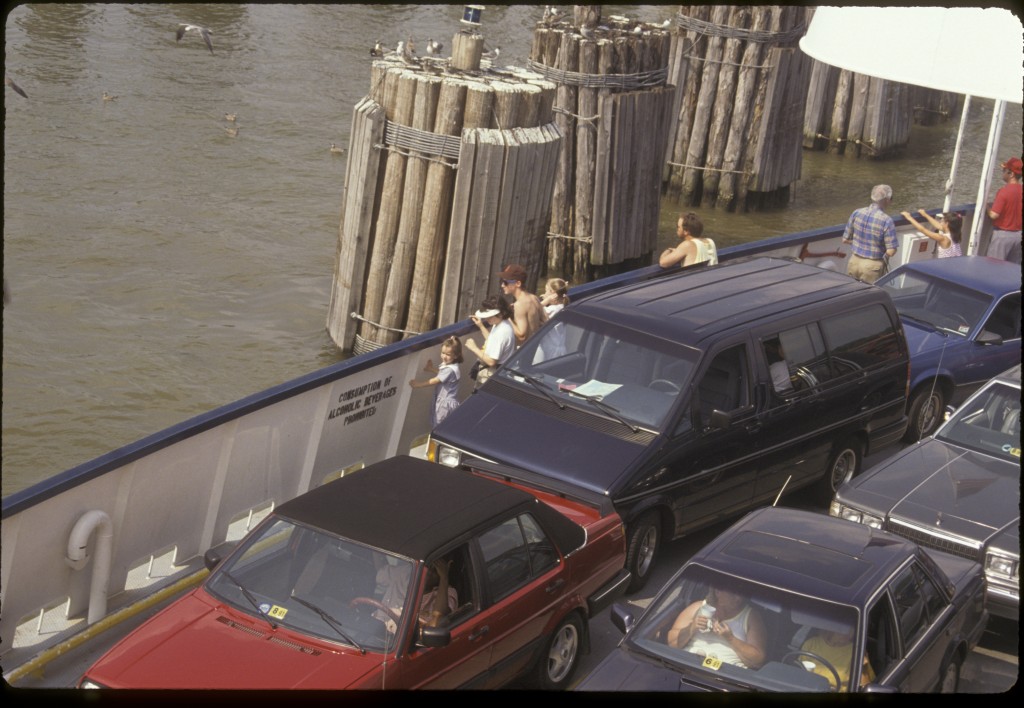
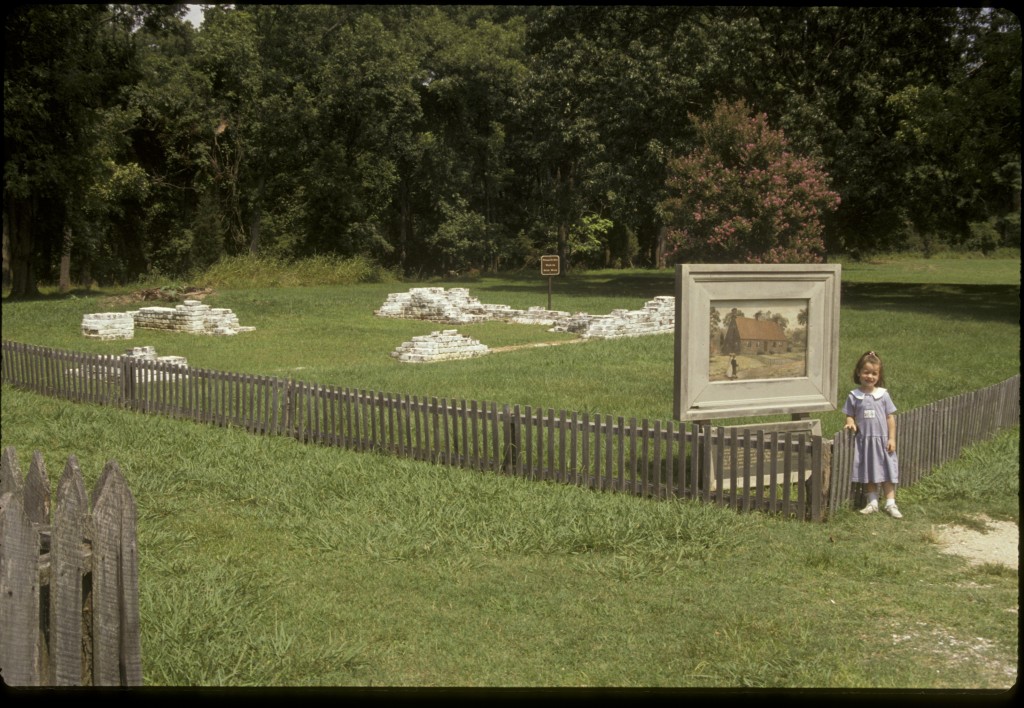
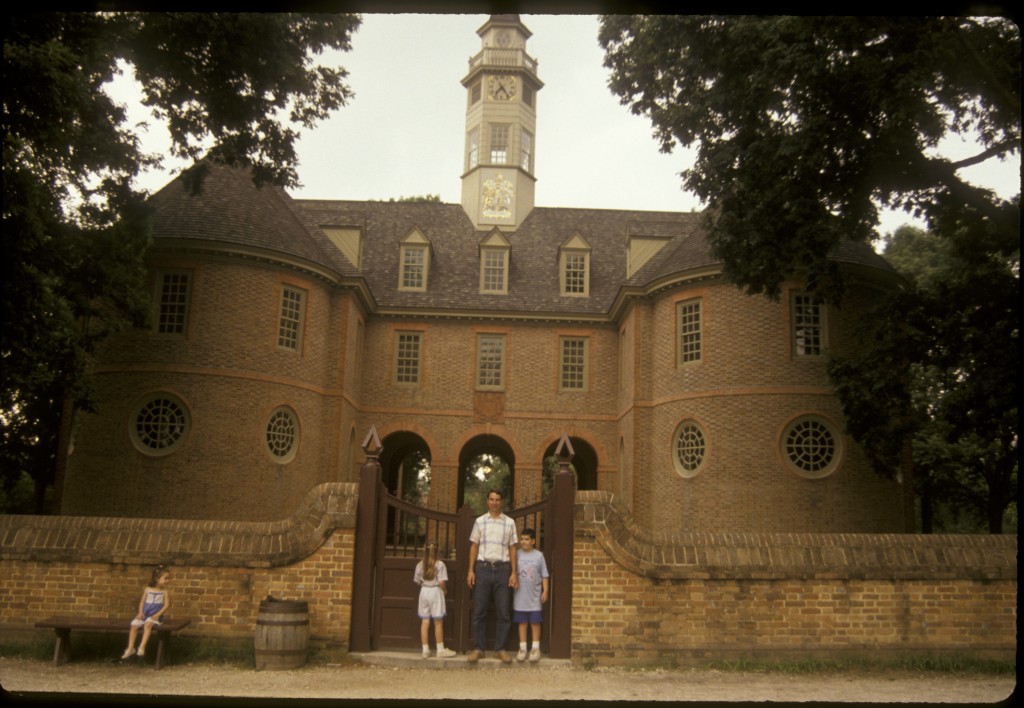
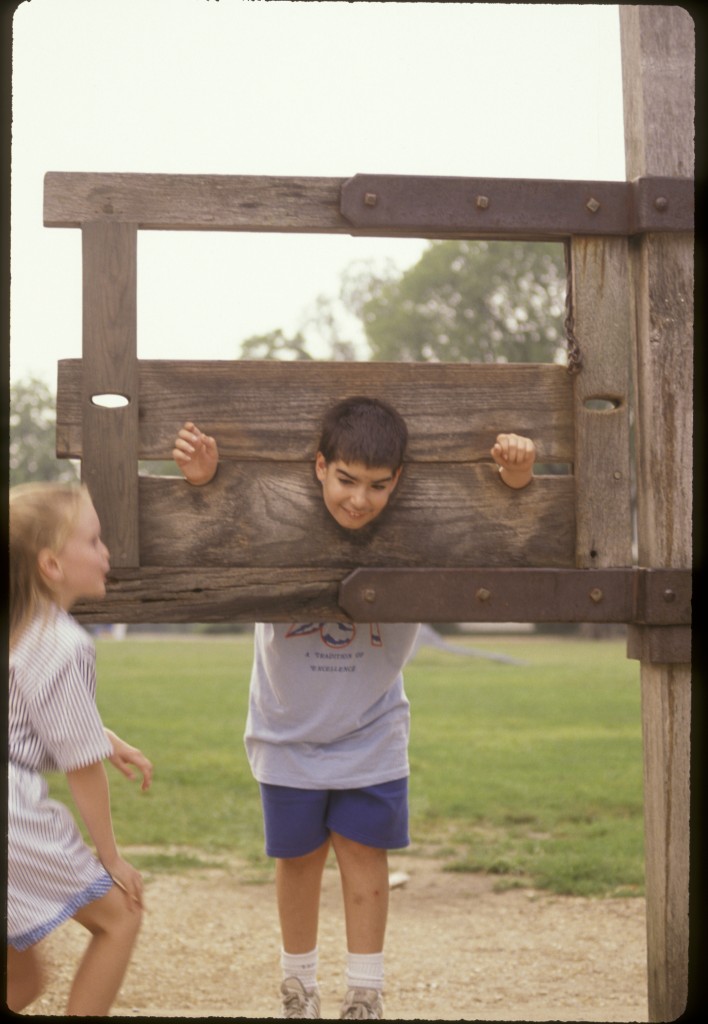
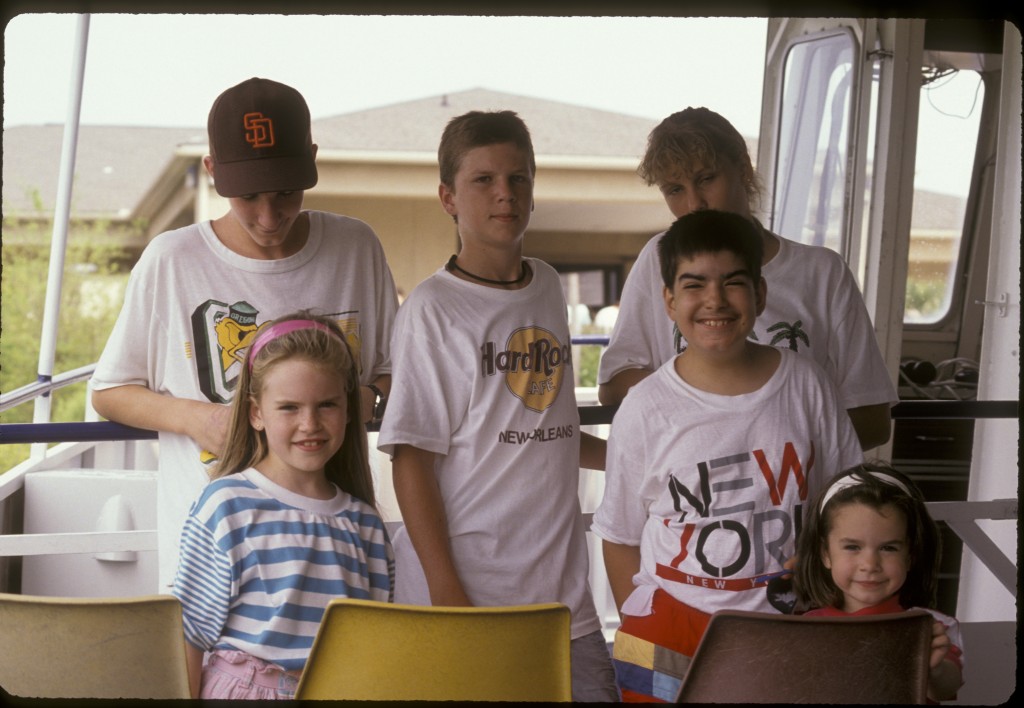
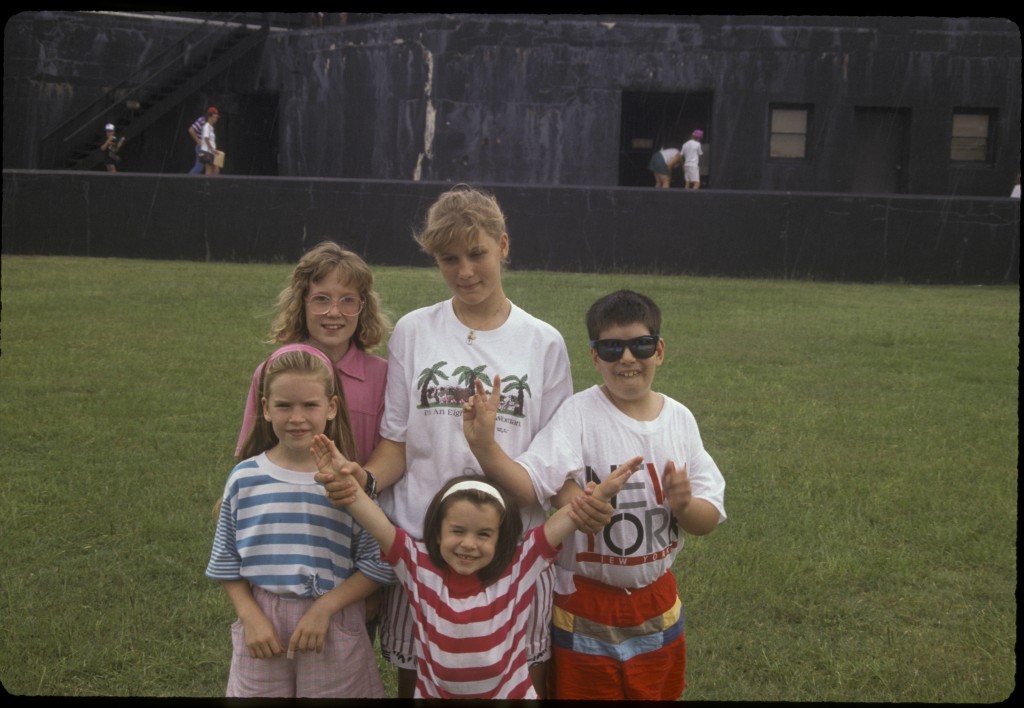
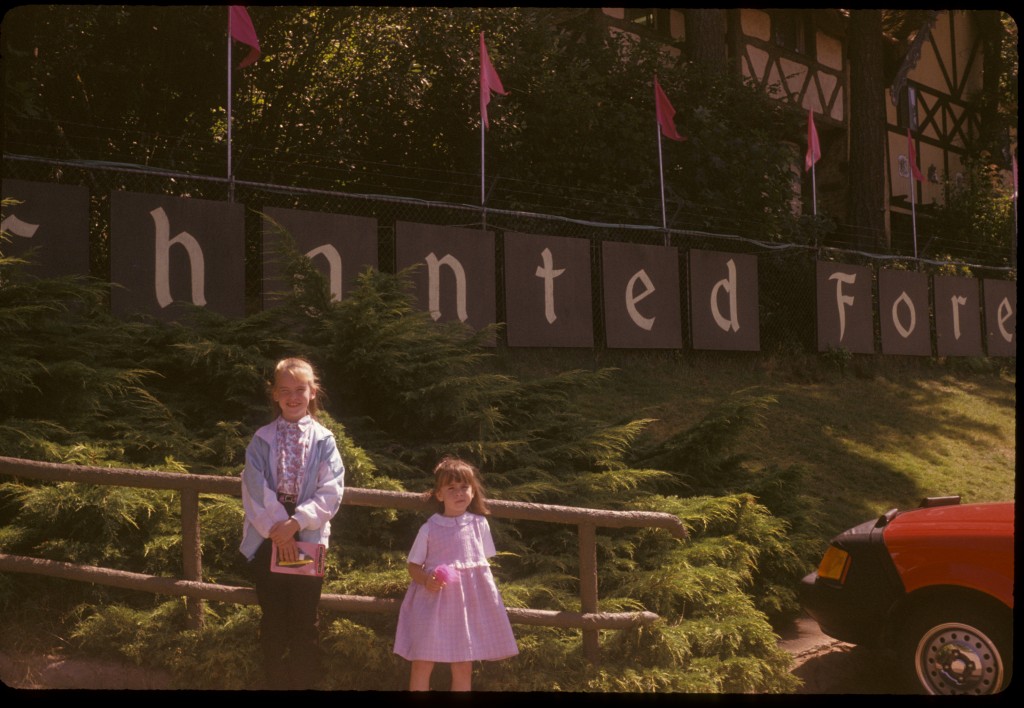
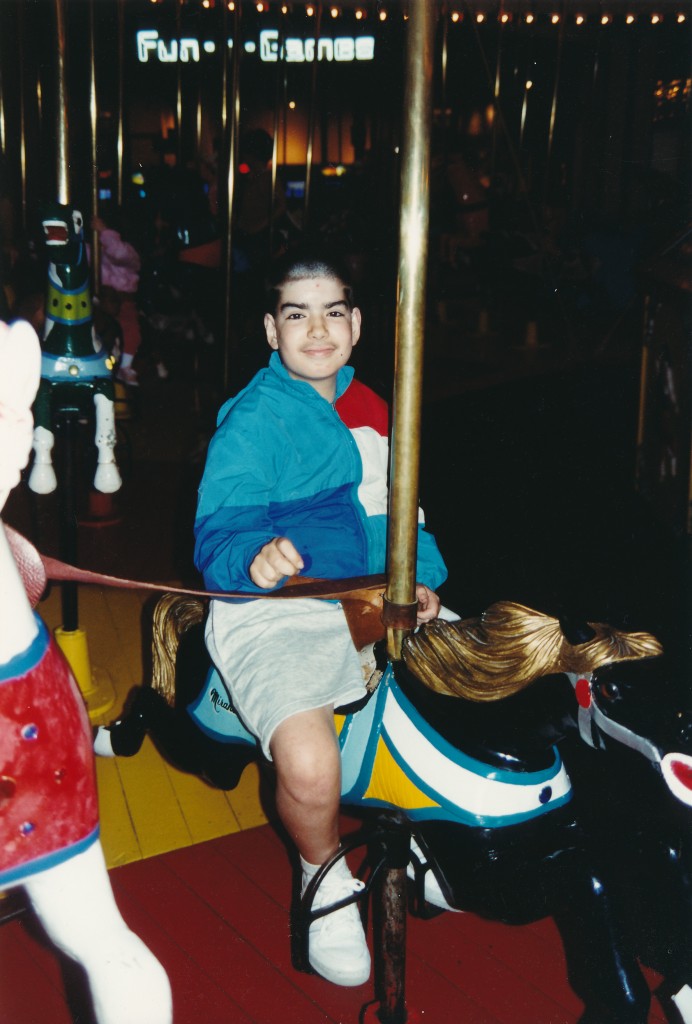
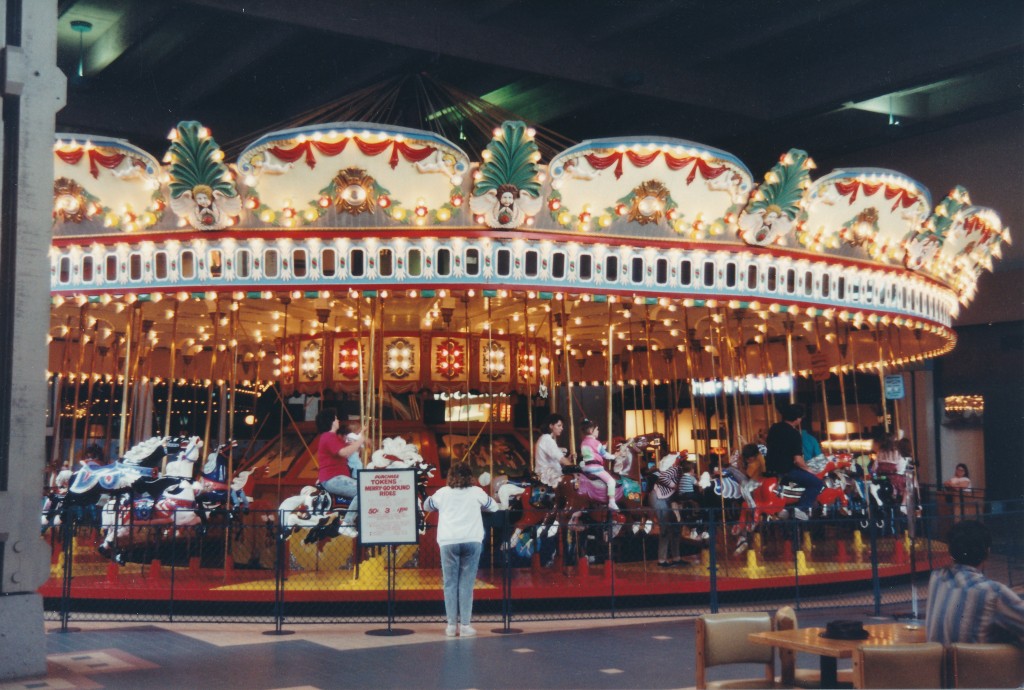
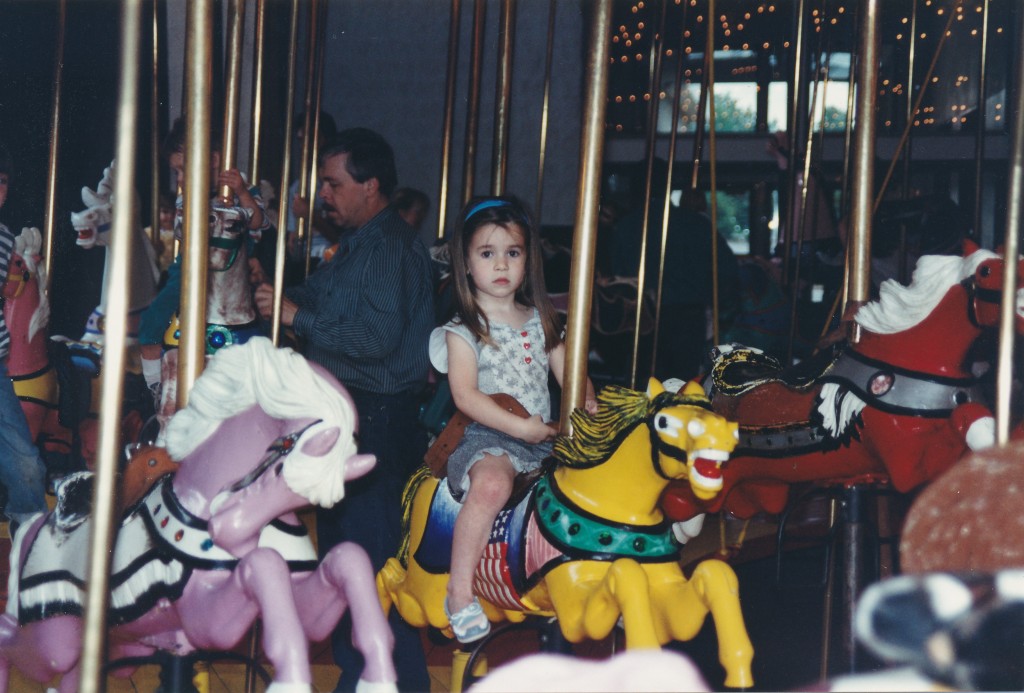
Over the years we have accumulated over 5000 slides and 7000 prints from photographs we have taken. We got our first digital camera in late 2003, so these photos cover our 33 adult years since 1970, and many from our families when we were youths.
To find or view these photos we had to drag out a box of prints or slides labeled by year, and tediously sort through them, or drag out a clunky slide projector and screen. If we wanted to email them or edit them on the computer we had to convert them to digital by scanning them.
Two years ago I tackled the job of scanning all the slides, and wrote blog posts about that experience previously (click this link, and this one).
The prints were more problematic, as I was unaware of a high quality bulk print or negative scanner within my price range. Our old flatbed scanner was in need of an upgrade so I shopped around and bought a Canon CanoScan 9000F. This reasonably priced flatbed scanner included attachments for scanning slides and negatives, as well as automation helps for scanning multiple prints at a time.
This is a decent scanner, but doesn’t yield the top quality scans that a professional or dedicated photo scanner would. I did sample scans to compare the results of scanning prints and their negatives. I would expect scanning the negatives to be superior, but I found the results from the prints to be comparable. And it was far simpler to scan prints, especially with the automation tools.
Next I had to decide on various scanner settings, such as sharpening, scratch/dust removal, and, most critically, resolution. Most of our prints were 4″ X 6″, and I found 300dpi yielded optimum results, as 600dpi gave negligible improvements vs. the bloated file sizes and lengthier scan times.
Scanning 7000 photos was a laborious task, and I undertook it in April this year. I set up my “assembly line” on a desk downstairs. I used a brush to quickly wipe dust and debris from the prints before laying them down on the scanner bed. Periodically I would clean the window on the scanner bed. I wore white lint-free gloves. I could scan three photos at a time, with the scanner software usually able to detect the separate photos and do individual scans of each (with separate resulting jpg files). I filtered out doubles and prints with no value (terribly out of focus, or bland shots of landscapes, etc.). I averaged about 30 seconds per print, so the total job required roughly 60 hours sitting at the desk. I got through a few audiobooks during the job.
I’m generally pleased with the results. We now have all our photos in electronic format for ease of access and saving for posterity. We still have the analog formats stored in boxes. The print scans are good enough for casual viewing and use–scanning prints has technical limitations. I figure if I really need a super high quality scan of a photo I can dig through the negatives (no small task) to find it and get a professional scan done. But it just wasn’t worth the expense and effort to make that investment for our full inventory of photos.
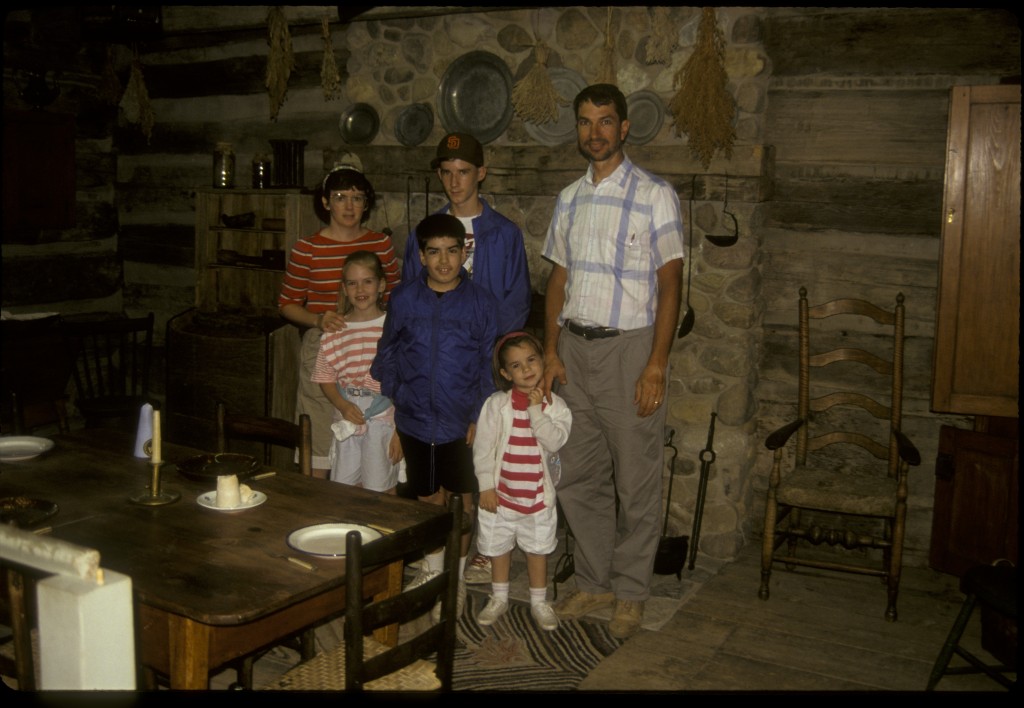
A huge remaining drawback for all our electronic photos is the lack of documentation for each. I have them sorted by year taken, but I have nothing which indicates who the people are, or the location, or event. With physical prints or slides this info is sometimes written down on them. I know there are digital formats for including information on electronic photos, and this is outstanding for sorting and finding, but I don’t know yet how universal these formats are, both for use across multiple vendors and programs, as well as longevity as technology changes over the years. I’d hate to invest countless hours inputting this documentation only to have it become useless some years down the road. So, this task remains on my “to do” list.
