
For years we made do with an inconvenient walk-in closet, a small shower stall, and a single sink in our master bedroom/bathroom. We contemplated various strategies of moving this wall or that. To make a long story short(er) we arrived at a remodel plan that would leave all exterior walls intact, yet solve the major irritants.
We did two things to make more room, and reoriented the closet to make it much more usable. First, we removed the jet tub. While there were pleasant memories of kids splashing away in it, and using soap bubbles to create beards, it was very rarely used. This allowed us to move the sink to that space and expand to a double sink.
Second, we extended one wall a few feet into the bedroom space to enlarge the shower stall. We compensated by removing a shelf unit from our bedroom, simplifying the furniture arrangement for the reduced space.
Removing the old sink opened up a new wall into the walk-in closet, where we moved the door and the space became much more usable. We also scaled back the amount of shelves in the closet, expanding the area for hanging clothes. We found we didn’t need to store so much stuff in our bedroom closet, moving much of it into the garage loft area (which became much more accessible after another project, which I will blog about later).
We met several times with the same contractor who remodeled our kitchen a few years ago. Initial ballpark cost estimates came in around $13K–not inexpensive, but doable. Of course, once the pencils got sharpened and we planned more details, the price went up and up. When we got to $23K we were pretty discouraged and looking for ways to cut costs. But ultimately, we decided if we going to go to this much trouble and expense we might as well do it right, and make sure we would be happy with it in the years to come. I think the total cost ended up around $26K or so. We splurged on a few extras, like granite slab counter, tiled shower, and heated floor.
We did save some money by doing much of the demolition ourselves, and all of the painting.
Here are a couple of photos showing the demolition progress, and the rough framing.
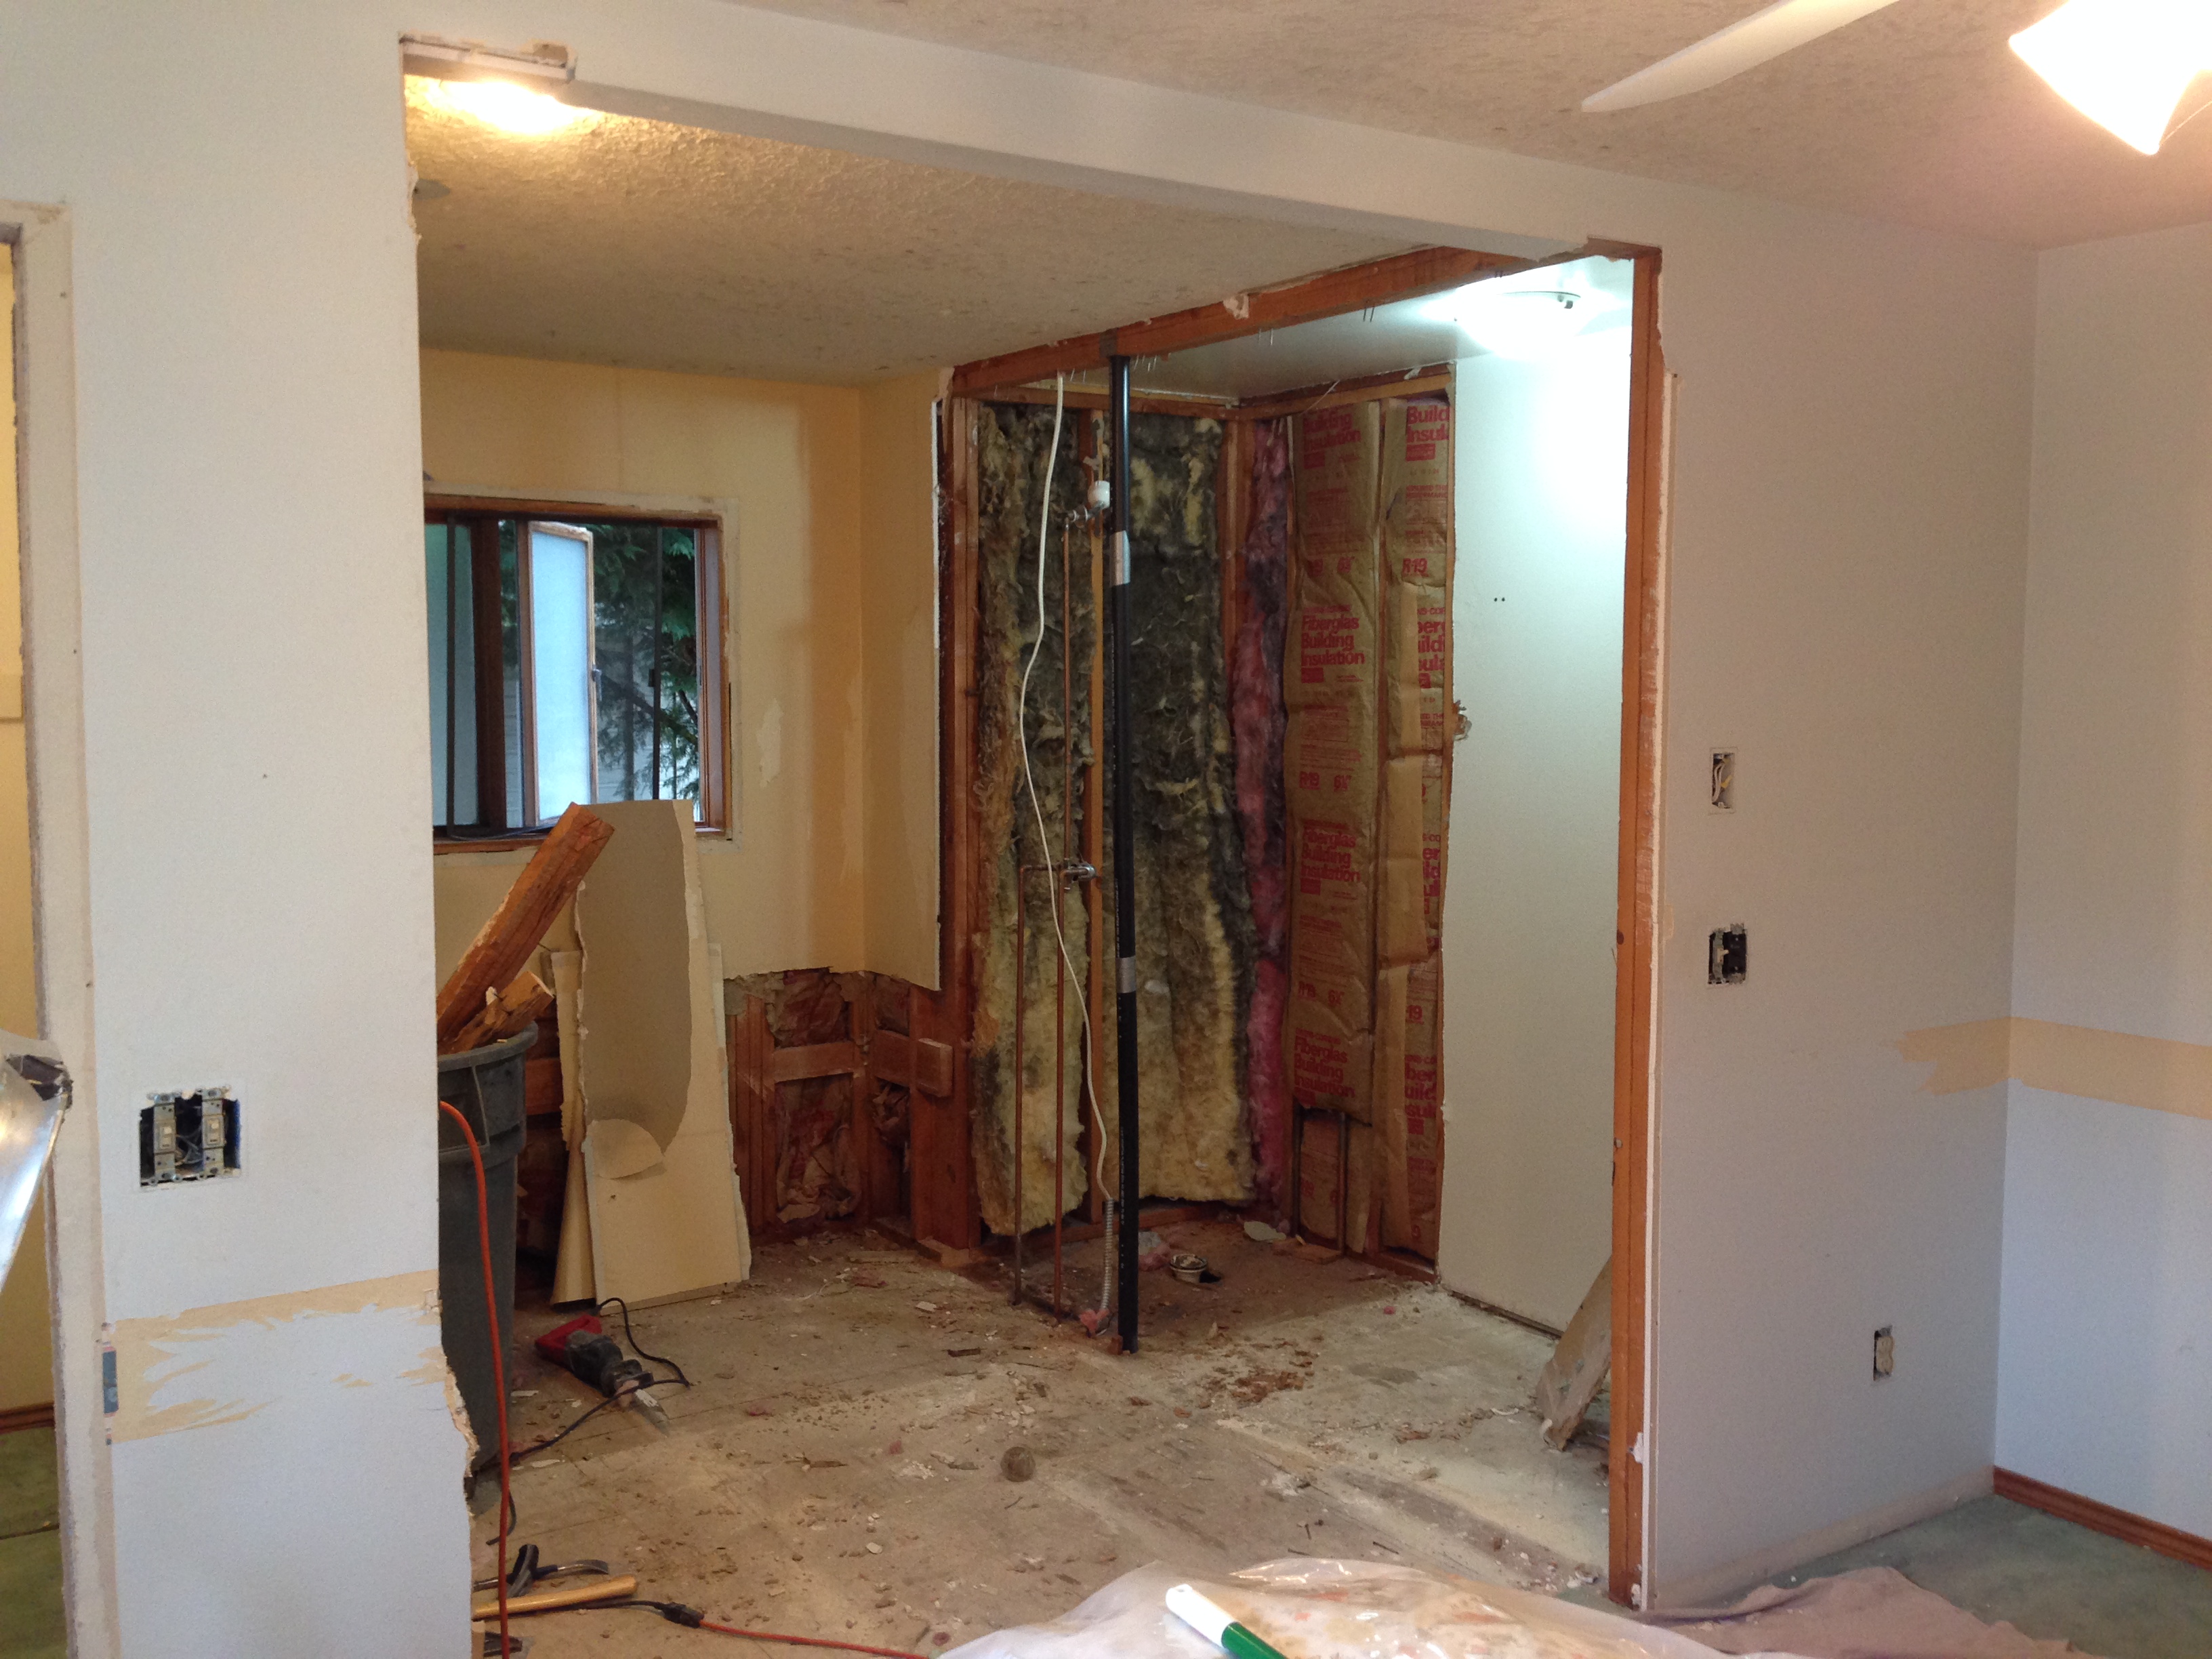
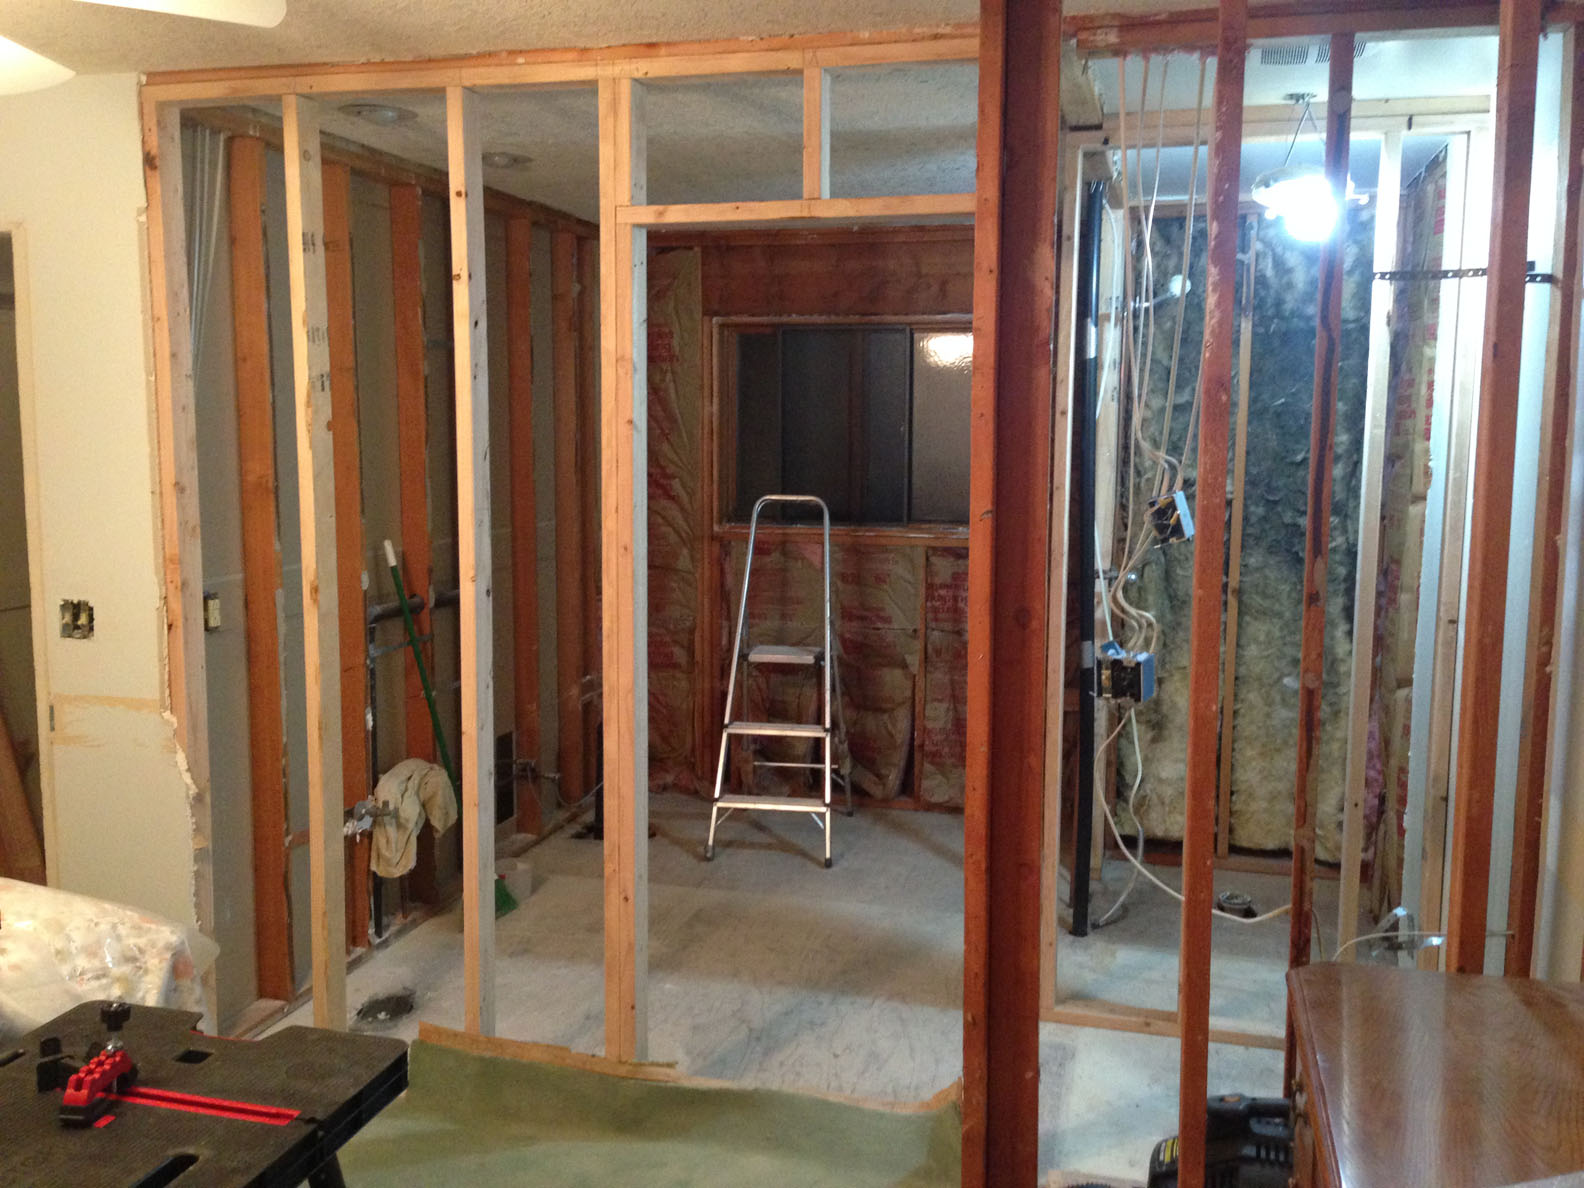
The next post will show the finished product.